 |
|
CRAFTSMAN KITCHEN REMODEL
A budget, sweat-equity project
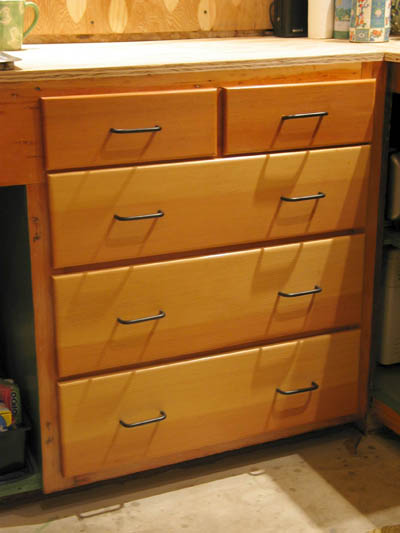
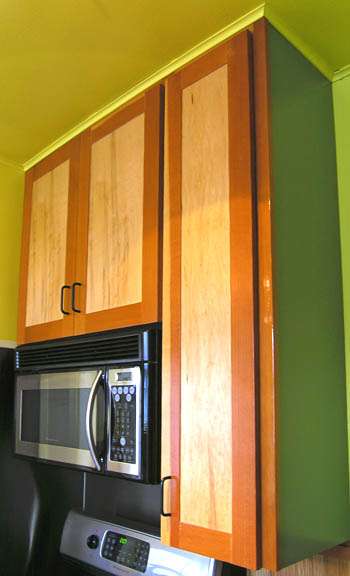
This project got its start from the simple act of cleaning under the stove. We discovered a sizable pile of rust underneath — not something you want to see with a gas appliance. While picking out a new stove, we noticed a matching vent hood/microwave. But adding that option, required building a custom cabinet to support it; and that in turn compelled us to update and match all the cabinets.
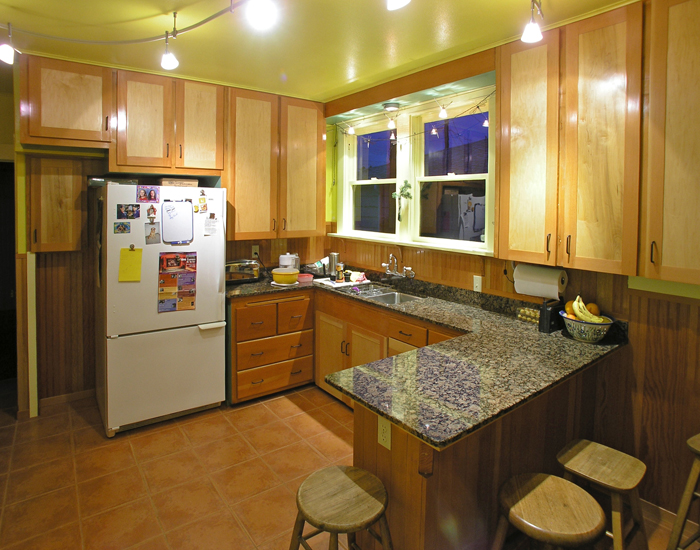
But why stop there. It was long past time to renew the kitchen floor, put in a better sink, add an AC outlet or two, replace ugly tile with a granite countertop, and install new lighting. During this process, the refrigerator lived in the dining room and we cooked outside on a camp stove.
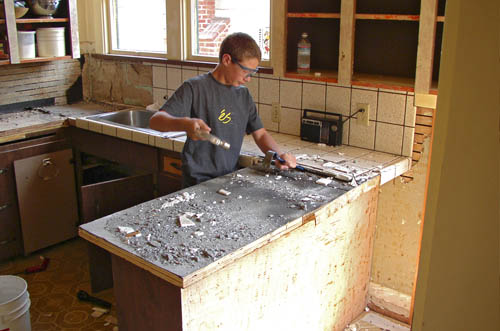
As with all remodels, it starts with demo days: In this case, tossing out the cheap cabinet doors and fronts, scraping up the old ugly flooring, and, with hammer, safety glasses, and cold chisel, chipping out the countertop tiles.
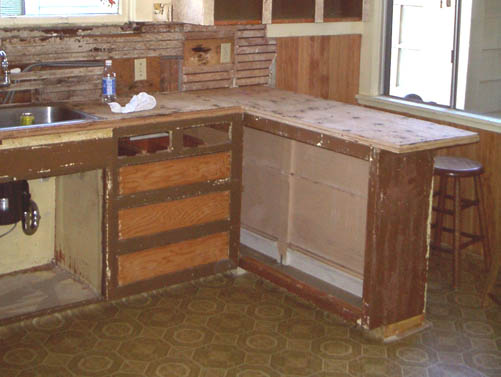

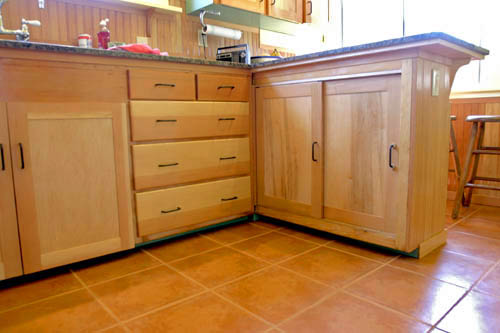
New sliding doors added, and the interior and exterior of the peninsula refreshed. For the peninsula, solid, hardwood flooring was chamfered on one edge to create a wainscot-like look.
The granite counter was the only part of the remodel cut and installed by professionals. The floor is covered with beautiful 12-by-12-inch terracotta tiles.
The finished kitchen. The refrigerator is finally out of the dining room! The track lighting was curved by bending it around a bicycle wheel.